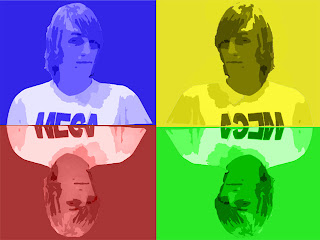
Firstly I got the photo that I wanted to use. I then proceeded to load it up in Photoshop. I went to Filter -> Blur -> Smart Blur. To acquire the look that I wanted I had to set the Radius to 40 and the Threshold to 15. After this I selected the layer of the photo and once again selected the Filter menu only this time I selected Artistic -> Cutout and set the level to around 4-6, the edge simplicity to 1 and the fidelity to 1. I then cut out the image of myself using the Magnetic Lasso tool and created a separate layer for it. On the old layer I filled it with one single colour. I then selected the layer with the image of myself and chose the Colour Replacement tool and selected the colour I had used for the background and colour the image of myself with it. I did this a further four times and combined each image to create the image you see.
No comments:
Post a Comment